Lupa Painting Blog · Interior Painting Guides
Complete Interior Painting Guide: How Professionals Prepare, Paint & Deliver Flawless Walls
A step-by-step professional framework that shows exactly how expert painters prepare surfaces, select products, and apply paint to achieve a smooth, durable, high-end finish inside your home.
Painting a room looks simple — until you actually start. Streaks, roller marks, visible patches, peeling corners and uneven color are extremely common in DIY paint jobs. Professional painters, however, follow a precise process that transforms walls into a smooth, uniform, long-lasting finish.
The difference is not just the paint brand. It’s the surface preparation, priming strategy, tool selection, and application technique. In this guide, we break down the core steps professionals use on every interior project — so you can understand what quality work really looks like.
1. Professional Surface Preparation: The Secret Behind Perfect Results
The paint job you see is only as good as the surface it’s applied to. That’s why professionals spend a significant portion of their time on prep work before opening a single can of paint.
What professionals do before painting
- Full surface inspection: identify cracks, nail pops, peeling areas, stains and moisture issues.
- Repairs: fill holes and imperfections with spackle or drywall compound and allow proper drying time.
- Sanding: smooth patched areas and rough walls using 120–220 grit sandpaper or pole sanders.
- Dust removal: vacuum and wipe surfaces with lint-free cloths to remove all sanding dust.
- Degreasing: wash kitchen and high-touch areas with TSP or a degreasing cleaner to remove oils and residue.
Common tools used
- Pole sander and sanding blocks
- Putty knives and taping knives
- Shop vacuum or HEPA vac system
- Lint-free rags and microfiber cloths
Pro insight: If surfaces are not properly repaired, sanded and cleaned, paint will highlight every defect, may peel prematurely, and can end up blotchy or uneven. Prep is typically 50–70% of a professional interior job.
2. Priming Correctly: The Step Most Homeowners Skip
Primer is not “just extra paint.” It is a separate product designed to create a stable, uniform base for the finish coats. Skipping primer is one of the main reasons DIY projects peel, flash, or show stains through the paint.
Why primer is essential
- Levels porosity: makes patched, old, and new drywall absorb paint evenly.
- Improves adhesion: helps paint bind strongly to glossy, previously painted, or slick surfaces.
- Blocks stains: seals in water marks, smoke, marker, and tannin bleed.
- Extends durability: reduces peeling, flaking, and premature wear.
Common professional primers
- Zinsser Bulls Eye 1-2-3: great all-purpose bonding primer for walls and trim.
- Kilz Restoration: excellent for stains, odors, and problem areas.
- Sherwin-Williams Multi-Purpose Primer: reliable for most interior surfaces.
Professionals choose the primer based on the wall condition, previous coatings, and stain type — not just whatever is on sale. This is what keeps the finish looking clean and consistent over time.
3. Choosing the Right Paint Finish for Each Room
Not all rooms should have the same sheen. Professionals select the finish based on traffic level, lighting, and how much cleaning the surface will require.
Most common interior finishes
- Flat / Matte: ideal for ceilings and bedrooms. Hides imperfections well but is less washable.
- Eggshell: popular for living rooms, hallways, and dining rooms. Soft sheen, more washable than flat.
- Satin: used in kitchens, bathrooms, laundry rooms and kids’ spaces. More moisture-resistant and easy to clean.
- Semi-gloss: perfect for doors, trim, baseboards, and cabinets. Very durable and wipeable.
- High-gloss: used for special details, accent trim, or high-impact design elements.
Pro tip: If your walls have many imperfections, a lower-sheen finish (flat or eggshell) will make them look smoother. Higher sheens will highlight every flaw.
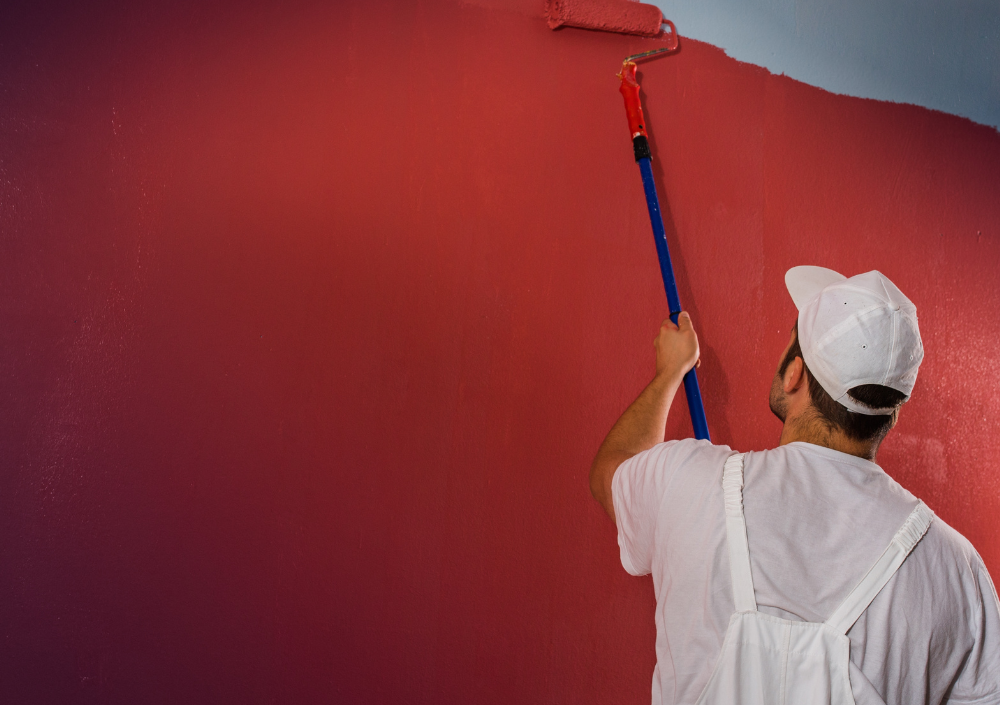
4. Professional Brushing & Rolling Techniques
Once surfaces are prepped and primed, professionals focus on application technique to avoid lap marks, roller lines, and visible brush strokes.
How pros cut and roll walls
- Clean “cut-in” lines: painters use high-quality angled brushes to carefully outline edges, corners, and around trim with a steady, controlled hand instead of taping everything.
- W-pattern rolling: they apply paint in a “W” or “M” pattern, then fill in without pressing too hard, keeping a wet edge to avoid lines.
- Telescoping poles: used for ceilings and high walls to maintain an even pressure and reduce fatigue.
- Right roller naps: microfiber or woven rollers with nap thickness matched to the wall texture.
Why technique matters
Good technique ensures consistent coverage, minimal splatter, and a smooth finish. Poor technique often leads to darker “stripes” where sections overlap, visible starts and stops, and uneven sheen when light hits the wall.
5. Cleanup, Detailing & Final Walkthrough
Professional painting is not finished when the last coat dries. The final stage is about presentation and quality control.
What professionals do at the end of the job
- Remove tape carefully and clean up any tiny paint bleeds or smudges.
- Inspect all walls under good lighting to check for missed spots or thin areas.
- Clean drips on floors, windows, and trim (if any).
- Reinstall outlet covers, switch plates, and hardware properly.
- Fold and remove drop cloths, sweep or vacuum, and leave the room tidy.
Most professional companies will do a final walkthrough with the homeowner, reviewing each room together and addressing any touch-ups immediately so the project is handed off in perfect condition.
End result: walls that look smooth, consistent, and professionally finished — and a clean space that feels ready to live in, not like a construction site.
Conclusion
Interior painting is more than putting color on the wall. It is a process that combines preparation, product selection, technique, and attention to detail. When each step is done correctly, paint lasts longer, looks better, and adds real value to your home.
Whether you’re planning a DIY project or hiring a professional painting company, understanding these stages helps you recognize quality workmanship and make better decisions about your investment.